
Table of Contents
Holding a make and take class can seem like a daunting task, but it doesn’t have to. With a little bit of thought and some planning, you can begin teaching classes in no time. No need to be stumped, check out this essential oils make and take guide on how to host a class, PLUS ideas for DIY recipes!
Make and take classes appeal to both new users and those who are currently using essential oils. It is always fun to learn a new way to experience aromatherapy. At a DIY make and take class, you provide the knowledge, essential oils, ingredients, and recipe supplies. Your attendees will make the essential oil recipe or recipes you share so they can experience just how simple it is to add aromatherapy benefits into their daily lives.
Before getting to the fun of WHAT to make, let's first look at the WHY and HOW to have a successful essential oils class.

Why Host a Make and Take Class?
This can be a fun career path or just a side hobby for those interested in earning some cash while doing something fun and creative. Getting into making essential oil recipes can become empowering. By teaching others to create beauty, cleaning, and health products at home with essential oils, you can empower them.
Before getting into the details of a make and take essential oil class, it is important to determine your goal for the event.
Pick Your Path - Your Why
Path One - Get essential oil sales!
- Are you an essential oil consultant, a wholesaler, or part of an MLM company? This may be your path if you are looking to share your oil knowledge and sell bottles of essential oils to interested buyers. An essential oil class can be a fun way to share your passion with your family, friends, co-workers, potential customers, or even team members.
Path Two - Earn money teaching others!
- Are you an aromatherapist or essential oil expert wanting to teach a class on essential oils to earn money? Sharing your knowledge and getting paid to do it is a great way to put your aromatherapy studies to use and earn some cash.
Path Three - Doing it for just the fun of it!
- Having fun by teaching others about the wonders and beauty of essential oils is very rewarding. Have an essential oil party for friends or family. Add it to another popular event, such as a bridal or baby shower, a birthday party, or a local gathering. Maybe at your next family function, teach your loved one how to use aromatherapy for health and wellness.
How to Host an Essential Oil Make and Take Class
There are four easy steps to hosting a Make and Take Class: Plan, Price, Prepare, and Teach.
Step 1: Planning
Now that you know your WHY for your essential oil class, let's get to the HOW. The first step in holding a successful make and take event is planning. This is where you'll hammer out all the details for your class. Here are some questions to answer to have a successful meeting:
Who is your audience?
Determine who you will be teaching. Is the audience beginners, knowledgeable team members, or dabbling family members? You want to think of who will be there. Be aware of who you will be teaching so you can structure your teaching to them. Some groups you can keep it really simple with, just the basics (don't worry, we will go over them!). Other groups will want more information and ask more questions. You don't need to know everything, you just need to be able to find the answers.
Where will you hold your class?
If you are having an intimate essential oil party, this could be at someone's house. If you are holding a larger class, you will need to choose your location. When you’re choosing your location, ensure it is easy to find parking and that the required equipment is accessible, such as power outlets, water, and bathrooms.
What day and time is best for your group?
It is hard to find a perfect time or day of the week, but this is where the question "Who is your audience?" is important. Schedule at a time that is convenient for your students or guests.
What subject do you want to teach?
Jot down a rough outline or some simple notes about the content you want to teach. It is best to keep it simple and really focus on the make and take project.
What oils do you want to teach about?
The subject you want to teach will help direct your essential oil and product choices. For example, want to teach about essential oils for sleep? Consider teaching about lavender, vetiver, sweet marjoram, etc. You might consider making a linen spray or relaxing lotion as your product. Keep it focused on a specific group of oils and one or two recipes.
What supplies will you need to have?
Once you know what you want to teach about and recipes will be made, you can determine the ingredients and supplies you will need.
Will you serve refreshments?
This will really depend on the type of class you are running, if it more of a party setting, food is always a win. Finger foods are a good option, again be sure to keep it simple.
How will you spread the word about your class?
Invite people to your class, you can do this through social media, mailed invitations, email invites, phone calls, text, local media, or community center advertising, etc. How you invite others really depends on the type of class you will be holding and who your audience is.
Step 2: Pricing
There’s no right or wrong when it comes to pricing your make and take event, you may even choose to do it for free depending on your goal. Here are some thoughts on pricing and fees.
Essential Oil Sellers:
If you are on path one with the goal to make essential oil sales, then you may want to make it a free class and encourage customers to buy essential oils while at the class. Offer specials, essential oil kits, and price breaks to encourage larger orders. Be genuine and enjoy yourself, it will help your attendees do the same. Don't just focus on selling, focus on the moment and helping others love essential oils as much as you do. Your excitement can be contagious and encouraging to others.
A free class may entice a larger group, but you could even do a flat fee like for joining the class to cover materials. Be sure to inform them of the value of your class, "For $10 you will make 3 Essential Oil Products for yourself PLUS you will have the recipes to make at home again!".
Essential Oil Teachers:
For those on path two, a good rule of thumb is to figure out all of your costs (cost of location, raw materials, handouts, etc.) and then figuring out how much you want for your time. You can always just charge what you’re comfortable charging, but you’ll want to make sure that you’re, at very least, covering all of your expenses.
Essential Oil Fun:
For those on path three, you can hold the class for free or charge a small fee for the materials. Be sure the fee covers costs for the essential oils, bottles, labels, and other supplies and ingredients needed.
Step 3: Preparing
When you’re preparing for your make and take, you want to think through every aspect of the class.
- Do you need handouts for your students?
- Do you have the ingredients needed for the recipe? Essential oils, carrier oils, and other ingredients the recipe calls for.
- Do you have all of the supplies that you need to make the recipes? Jars, bottles, rollers, pipettes, small bowls, a double boiler, etc.
- Don’t forget items such as paper towels, coverings to protect work surfaces, and anything needed for clean up after the event.
- Take a few minutes to also think about how you want your classroom set up.
- Invite and promote your class however you determined in step one.
Step 4: Teaching Class
Keep things simple! Tailor your information and your blending project to your students' experience level. Create a sense of community within your class and get your students sharing their ideas and asking questions. An icebreaker before the start of the class can be a great way to create this community.
Encourage guests to smell the different essential oil aromas throughout the class, get people to engage with the oils, find out which scents they like, ask questions, and talk about the essential oil experiences and benefits they have enjoyed. You want an interactive, engaged audience.
Here is a quick outline:
- Welcome everyone
- Introduce the topic and DIY Recipes
- Talk about how essential oils can help
- Highlight 3-6 essential oils for your chosen topic, or just one if your topic is a single oil spotlight
- Share more about the recipe/recipes you have chosen
- Instruct on how to make recipe one
- If you have a second recipe, instruct on how to make it
- Closing thoughts, special offers available, next class if applicable
- Offer to assist with essential oil orders if selling essential oils
- Answer any questions and thank the audience for coming
DIY Essential Oil Recipes for Make and Take
When you’re choosing an essential oil recipe to teach during your class, make sure you’re always choosing a recipe you’ve made before – you don’t want to be experimenting when you’re teaching others.
While each student in the class should be making the same project (think about how crazy it would be to be teaching how to make many different products at the same time), you can allow your students to express their creativity and personal preferences by letting them choose what oils they use or by offering a few blends that they can pick from.
Option 1: Everyone makes the exact same recipe and blends. This is an excellent option for beginner students because they can easily follow along with you. This is also a great option if you are new to teaching classes, as it keeps things simple.
Option 2: Everyone can make the same type of recipe (like a roller bottle), but students can pick from 2-3 different recipe blends. So if you are making focus roll on recipes, have a few recipe options for a focus blends. This allows for the students' tastes to play a role. One may not want to use rosemary in their focus blend, but would love orange and peppermint.
Option 3: Everyone creates their own blend. This option may be best if your group has some experience. For example, if you’re teaching about 5 oils in your class for sleep, you can let your students choose up to 3 oils (or whatever number works best for you) to use in the recipe project. So, if making an inhaler recipe, let them choose what essential oils for sleep they want to use in the recipe, and they can experiment with blending.
If you’re making something like a salve or anything that requires a heat source, consider making the base product yourself while you explain the process to your students. Not only is this a time-saver during your event, but it also protects you from any liability if a student were to get burned or otherwise injured by the heat source.
For example, I love melt-and-pour soap recipes, but this type of recipe can be challenging, especially in a large group, because everyone would need to heat the soap base.
31 PC Deluxe Essential Oils Kit: Aromatherapy Supplies
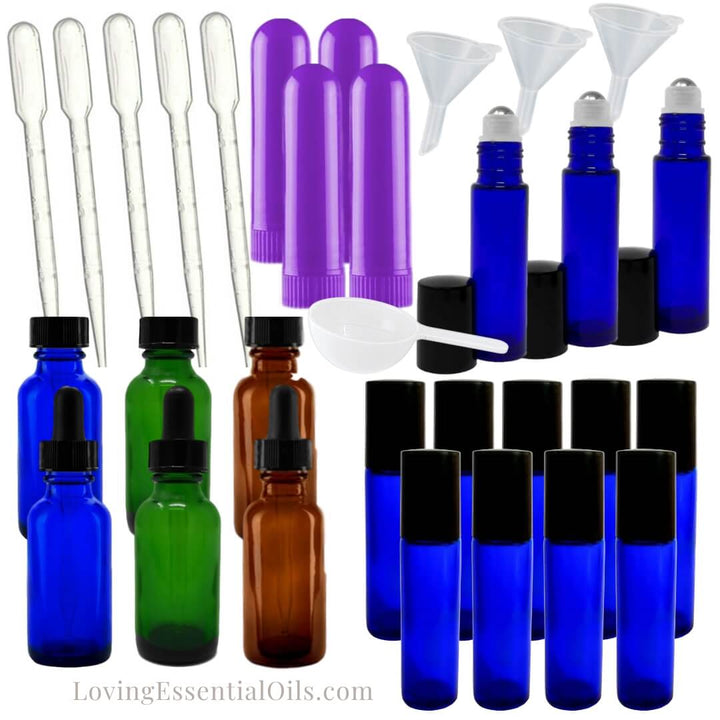
$ 37.00
31 PC Deluxe Essential Oils Kit - This Aromatherapy Supplies set includes a variety of tools needed for making DIY products with your essential oils. Use this kit to make roll on blends, inhaler blends, massage oils, face serums, and… Read More
Essential Oil Make and Take Ideas & Recipes
Here are essential oil ideas to help you decide, pick a topic from column one and 1-3 recipe types from column two. Roller recipes and inhaler blends are simple to teach and great for beginners to make.
Essential Oil TopicPick One | DIY RecipesPick One to Three |
| Oils for Sleep | Roller Blends |
| Oils for Mood | Massage Oils |
| Oils for Focus | Inhaler Blends |
| Oils for Inspiration | Diffuser Blends |
| Oils for Skin Care | Hand Cream Blends |
| Oils for Green Cleaning | Essential Oil Sprays |
| Oils for Women's Health | Bath Salts |
| Oils for Men | Foaming soap |
| Oils for Kids | Sugar Scrubs |
| Oils for First Aid | Healing Balms |
| Single Oil Spotlight | Lip Gloss/Balm |
Wrapping Up Make and Take Classes
One last note – make sure you’re enjoying what and how you’re teaching during your make and take classes. Your passion for the subject, the oils, and the products will shine through to your students/customers and make your class much more enjoyable, and increase the likelihood that people will be excited about your next class. Remember, the more lessons you teach, the easier it will become!
Share on Pinterest