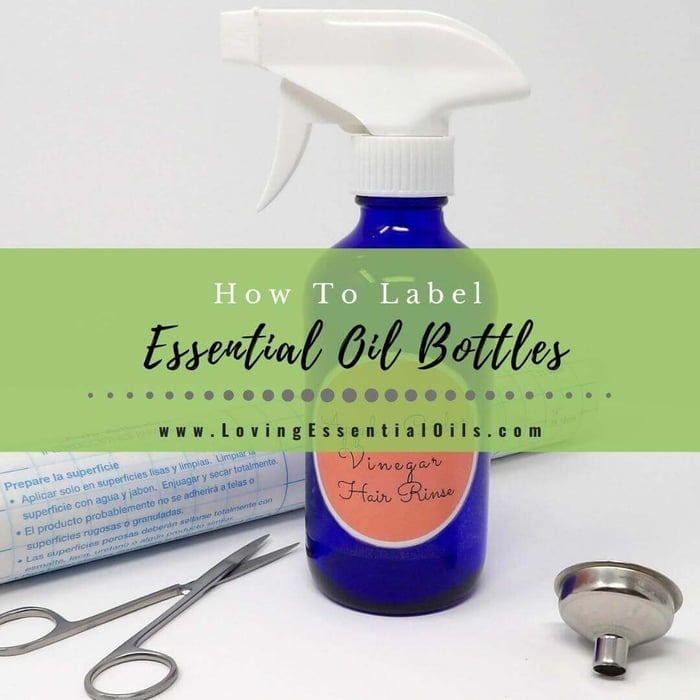
We offer many essential oil recipes to our readers and we frequently get asked how to label essential oil bottles correctly. It can be simple. This is our step by step process of essential oil label application.
This tutorial is for applying printable labels with contact paper. While there are other methods you could use, this is the best method we have found to keep our labels stuck in place, keep them water resistant and easily remove them after the bottle is empty so you can make something else.
Best Contact Paper for Labels - Labeling Bottles
Although permanently adhesive labels may seem like the best choice when labeling your belongings, there are actually a lot of reasons why contact paper is a better option. Here are just a few:
- Contact paper is less expensive than permanent adhesive labels.
- Contact paper can be removed and replaced without damaging the surface beneath it.
- Contact paper doesn't leave a sticky residue behind.
So if you're looking for an affordable, removable, and non-sticky alternative to permanent adhesive labels, contact paper is definitely the way to go!
The contact paper we use has worked great, it sticks good to glass bottles and can be removed when bottle is empty. It lasts a long time too because we only use a small piece each time.
Another plus is that it has a grid on the back which makes cutting out small pieces easier. It also helps to protect the label, making it durable to oil smudges and wetness.
Buy the contact paper used and pictured here
Essential Oil Printable Guides
First thing you need to do is figure out what you are going to make, what bottle and what label. We offer many printable recipes with labels, as well as blank labels so you can them with any recipe you make.
Here is a list of our printables, click on links to get access to each:
- 50+ DIY Essential Oil Recipe
- 10 Fall Inspired Essential Oil Sprays
- 200+ Blank Free Essential Oil Labels

How To Apply Printable Essential Oil Bottle Labels
Once you know what you are making you need to print up the label. I like to print my labels on regular paper but you could use label or sticker paper.
Both are other options if you prefer. I find the thicker card stock is not as pliable making it harder to stay on a rounded bottle. The problem with just using label paper only is that if it gets wet or moist, the label will get ruined, so it is still best to use this method and apply a layer of contact paper over it.
You can see the picture tutorial below, here is the detailed step by step tutorial on how to label essential oil bottles with printable labels.
Step 1: Cut out label you printed for desired recipe, if blank label be sure to write recipe name on label.

Step 2: Cut out a piece of contact paper that is large enough to cover over the label but will still fit on your bottle. The contact paper also makes the bottle label water resistant.

Step 3: Peel off back of contact paper, this can be challenging but if you use your fingernail on the edge corner to slide between the contact paper and the paper backing you can get it to separate easier. Remove backing completely being careful to not touch the back on anything or handle it too much with fingers.

Step 4: Attach cut out label to sticky side of contact paper, try to get it straight and in the middle. Practice makes perfect, do your best and over time you will get better.

Step 5: Line up sticker onto bottle sticking only center top and bottom until it is lined up, then wrap around rest of bottle.

Step 6: Smooth the sticker label out using your fingertips to rub over it, push out any bubbles and creases. You can remove and reapply if label is REALLY crooked, usually I can reattempt once and still maintain stickiness on the back.
All done - Enjoy your recipe!
Share On Pinterest
Free Essential Oil DIY Labels Guide
If you love using essential oils, you'll adore these printable labels that make it easy to identify your blends. Whether you're creating a personalized gift for a friend or just want to keep your oils organized, these labels will come in handy. Best of all, they're easy to cut out your label choice so you can create the perfect look for your bottles. Print them out and get crafting!

